Create a project
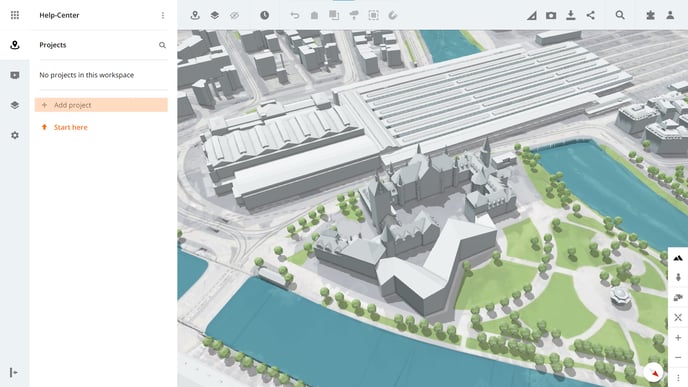
Open the workspace in which you want to create the new project.
Click on the Add Project button and enter all the information. Then click on the Create button.
Project name
To name your project, add a project name in the input field.
Location
Write the location in the input field and select an address from the suggestions list. You can also click on the button next to the input field to select the address with one click on the map.
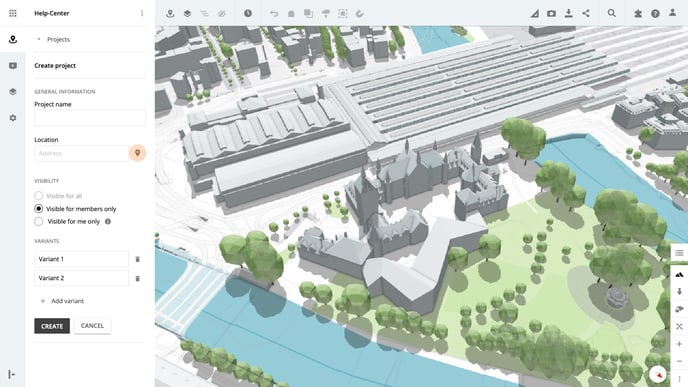
Visibility
Manage whether your project is public, or only visible to certain members. The setting Visible to all is only available if the working environment itself is also set to Visible to all.
Please note that public projects can be found, opened, and viewed by anyone.
Variants
Create at least one variant in your project. Variants are used to sketch different ideas in the 3D digital twin. In the variants, you can construct 3D volumes or upload your own 3D data.
Click on Add Variant to add more variants, additional variants can also be created at any time after the project has been created.
Please note that in order to create a new project, you must have user rights in the workspace.
Is there anything we could change to make this article more helpful?