Create an area manually or from a plot and then define it as a property.
Select parcel
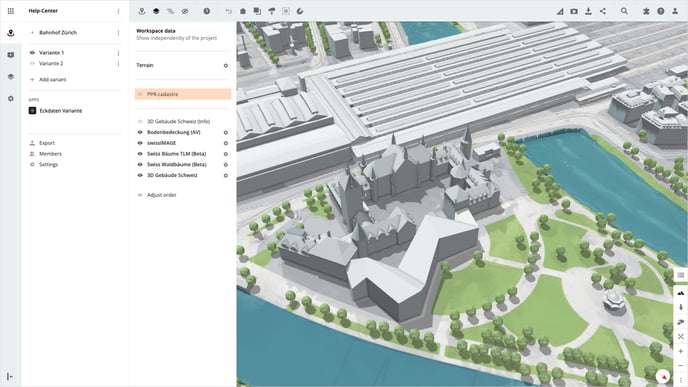
Open the desired variant and display the PLR-cadastre by clicking on Show workspace data in the toolbar at the top. Then activate PLR-cadastre in the list of workspace data.

Convert parcel into an area
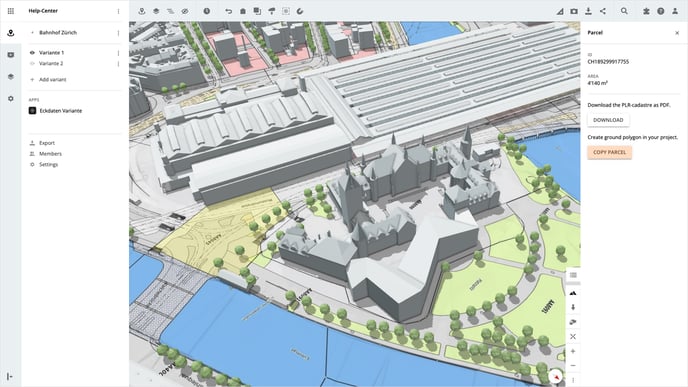
After you have displayed the PLR-cadastre, the parcels appear on the map. You can now click on your desired parcel and find the PLR report in PDF format to download in the information panel on the right-hand side.
You can also copy the selected parcel as an area by clicking on the Copy parcel button.

The outline of the parcel is drawn exactly and all object properties of an area are now available to you.
Define an area as property
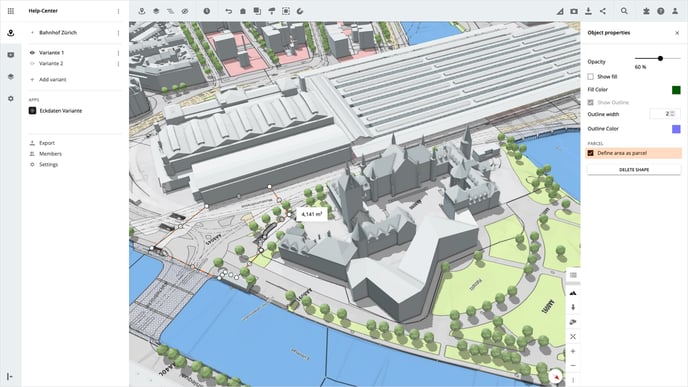
Select your desired area and activate the checkbox Define area as property in the object properties on the right-hand side.

Is there anything we could change to make this article helpful?
