Create information
Open the workspace data in your workspace and open the context menu of the desired 3D dataset.
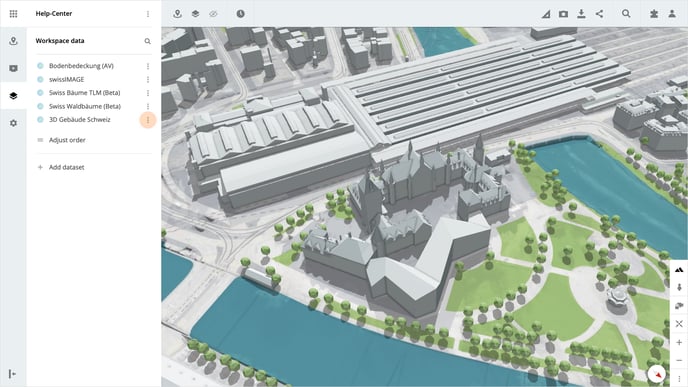
Click on Add properties in the menu and then click on the Add properties button. For each attribute to be added, you can now enter a title in the input field Property name and select the type of information in the dropdown Property type. Save the settings by clicking on the Save button.
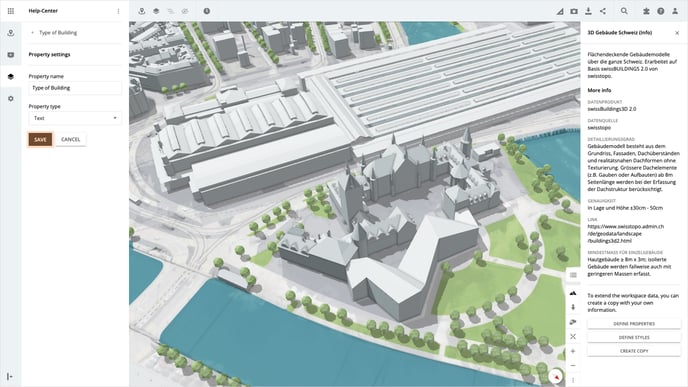
Please note, if the desired 3D dataset has been added from the marketplace, you must first create a copy.
Property type
- If you select the type Text, a simple text field is available for entering the information.
- If you select the type Number, a numeric input field is available for entering the information.
- If you select the type Date, a date selection is available for entering the information.
- If you select the type Selection, you can enter the options from which you want to select when entering the information.
Add Information
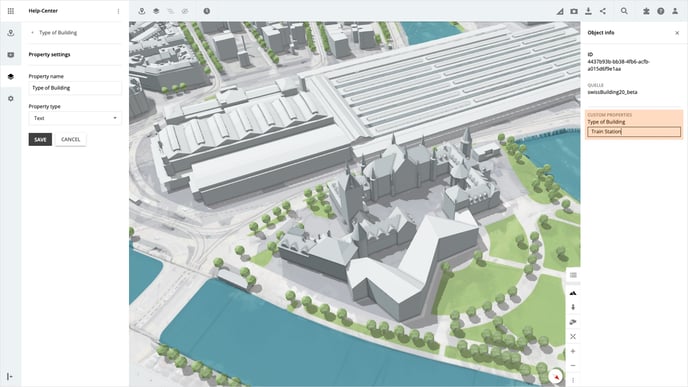
Select a 3D object on the map. In the object information in the right-hand panel, you will find the property you have created, which you can now fill in.
Repeat this for all desired 3D objects.
Access information
Open a project in which the completed dataset is available. To call up the information, click on a 3D object, and in the right-hand panel Object information, you will now find your completed information on the selected 3D object.
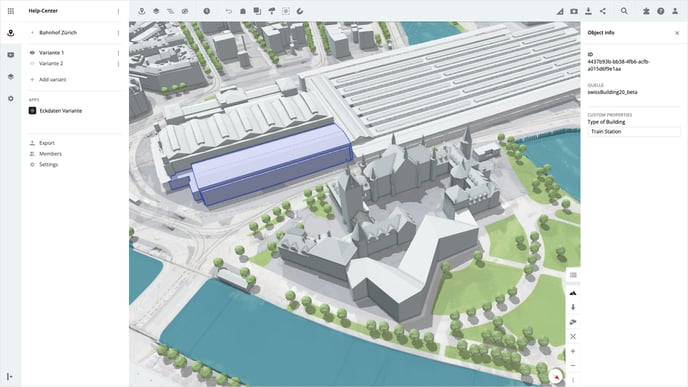
Tip: If you cannot see your added information, confirm that you are displaying the correct dataset
Is there anything we could change to make this article helpful?