Create object
Open the desired variant and click on Buildings and Objects in the toolbar at the top and click on Add Building in the sub-navigation.
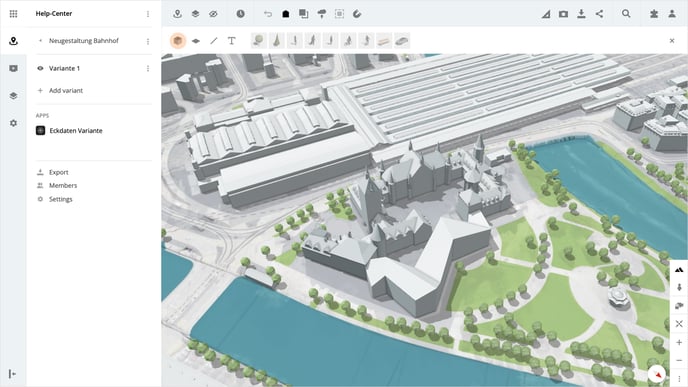
To start, set the starting point by clicking on the map, then set the diagonal corner point. Simply click on the desired point on the map. The resulting base area is displayed in white and next to it are the measurements in meters.

After you have set the two points on the map, drag your mouse upwards to define the height of the building, and click the left mouse button to confirm the height.
After creating the object, a panel with the object properties is displayed on the right side. There you can make adjustments to the masses, the color, and other properties.
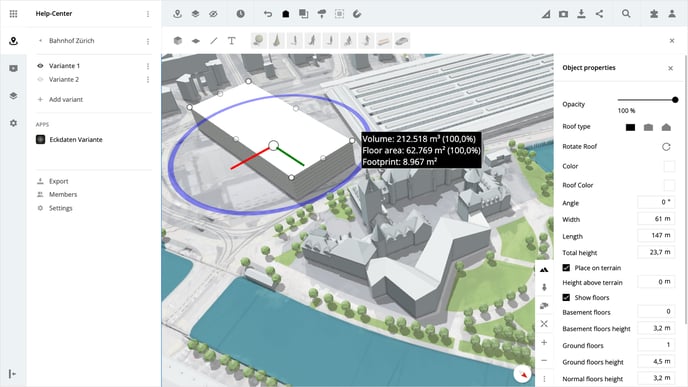
Object properties
After the object has been placed, it can be further edited in the object properties or directly on the map. The following properties are available for this purpose:
- Opacity
- Roof type
- Rotate Roof
- Color
- Roof color
- Angle of the building
- Width of the building
- Length of the building
- Total height of the building
Place on the terrain
If the option Place on terrain is activated, the building is automatically created directly on the terrain. In the input field Height above the terrain, you can enter a meter value to place the object further above the terrain or to lower it.
Floors visible
If the option Show floors is activated, the floors of the building are displayed. In addition, you can edit the following options:
- Number of basements
- Height of basement floors
- Number of ground floors
- Height of ground floors
- Height of standard floors
You determine the number of floors by dragging the roof building up or down with the mouse. Hold down the CTRL key to always add or remove whole floors.
Evaluation properties
If the option Evaluation properties is activated, you can enter a percentage reduction for the volume and the area here. These values are taken into account, for example, in the compilation of the key figures in the apps "Key figures project variants" or "Construction costs" by keeValue AG from the marketplace.
Delete object
Select the desired object and click on the Delete shape button in the panel on the right-hand side. Alternatively, the DELETE key can be used.
Please note, that the deletion of the object does not need to be confirmed and the step cannot be undone.
Snap functions
Click on Snap tools in the toolbar at the top. Then you can activate or deactivate the desired functions in the sub-navigation.
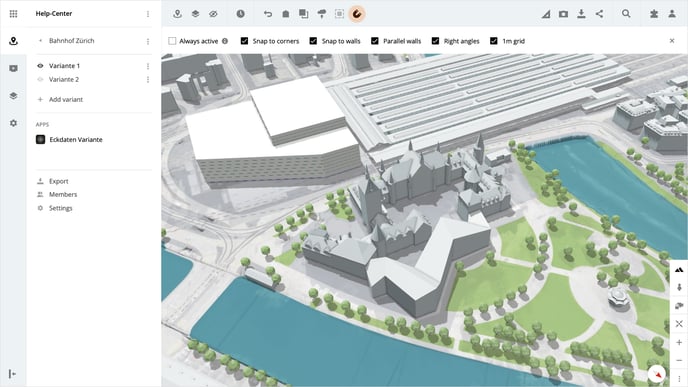
The following assistance is available to you:
- Snap to corners
- Snap to walls
- Parallel walls
- Right angles
- 1m grid
To deactivate the snapping functions during modeling, hold down the CTRL or Control-key.
Undo
Click Undo at the top of the toolbar to undo the last step.
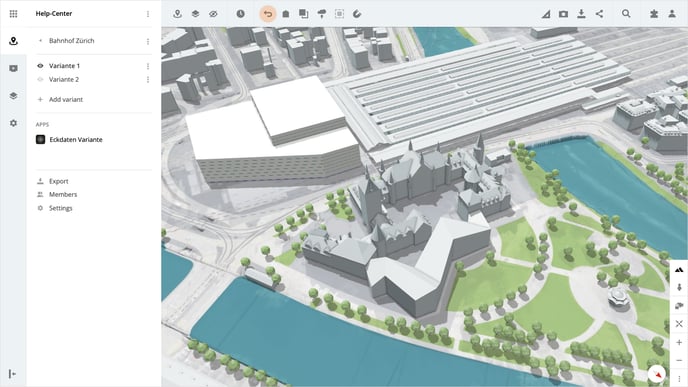
Please note that only one step can be undone at this time.
Is there anything we could change to make this article helpful?